Homemade White Fish Fingers For Baby Led Weaning

Table of Contents Show
Exploring a fish recipe that both babies and adults genuinely enjoy can sometimes feel like a challenge, which is exactly why these homemade fish fingers have become one of my favourite family meals. They're beautifully crisp on the outside, tender and flaky in the middle, and made with simple ingredients so you know exactly what's going into them. Unlike many frozen fish fingers, these are lower in salt and have a softer texture that's ideal for little hands learning to self-feed.
Fish is an excellent first food during baby-led weaning because it provides high-quality protein, iodine and healthy omega-3 fats that support your baby's growing brain and nervous system. I love making a double batch because they freeze brilliantly, making busy weeknight dinners or quick lunches so much easier. Serve them with steamed vegetables, potato wedges or peas and you'll have a meal that everyone at the table can enjoy together.

Is This Recipe Right for Your Baby?
- Suitability: Suitable from 6 months+ for baby-led weaning. These homemade fish fingers have a soft, flaky centre with a light crispy coating, making them easy for little hands to hold while providing protein, iodine and omega-3 fats to support healthy growth and brain development.
- Dietary Tags: Dairy-Free | Nut-Free | High-Protein | Contains Fish | Can be Egg-Free*
- Time & Yield: 10 minutes prep + 20 minutes cook | Makes 10–12 fish fingers | Freezer-friendly
- Storage: Store leftovers in an airtight container in the fridge for up to 2 days. Freeze cooked fish fingers for up to 3 months. Defrost overnight in the fridge and reheat thoroughly before serving. Do not refreeze once thawed.
Are Fish Fingers Healthy?
Homemade fish fingers for baby led weaning can be a healthy option for baby-led weaning (BLW) and a little change from shop-bought fish fingers from 6 months of age. When prepared at home, they allow for better control over the ingredients used, such as fresh fish, wholemeal breadcrumbs, and no added salt.
Fish is a great source of protein for baby’s diet, healthy fats, and important nutrients like omega-3 fatty acids, which are beneficial for a baby's development.
By baking instead of frying the fish fingers, it reduces the amount of added fats, making them a nutritious choice for babies starting solids.
Remember to cut them into appropriate sizes to prevent choking hazards and always supervise your baby during mealtimes.
Cooking Fish Fingers In Air Fryer
To cook homemade fish fingers in the air fryer, preheat the air fryer to 200°C. Place the fish fingers in a single layer in the air fryer basket, ensuring they are not overcrowded.
Cook the fish recipe for 10-12 minutes, flipping them halfway through the cooking time for even browning.
Once the fish fingers are golden and crispy, remove them from the air fryer and serve making sure they have cooled for baby and serve with a side of choice.
Enjoy a delicious and healthier alternative to traditional fried fish fingers for the whole family to enjoy.
Can You Reheat Fish Fingers?
Yes, you can reheat homemade baby fish fingers.
To do so, preheat the oven to 180°F or 350°C and place the fish fingers on a baking tray in a single layer.
Heat them in the oven for about 10-15 minutes or until they are thoroughly heated. Make sure to turn them over halfway through the reheating process to ensure even heating.
Once heated through, remove from the oven and let them cool slightly before serving. Reheating in the oven helps maintain the crispy coating of the fish fingers.
Ingredient information
White fish - You can use any type of fish you have. White fish fillets are usually accepted with my son. I have used a frozen white fish which is pollock. This is absolutely ok to freeze again. So the recipe is great for batch cooking.
Egg - I have used a free range egg. If your little one cannot eat eggs, you could dip the fish in a vegan egg replacer or a little olive oil or unsalted butter.
Bread - I have used a wholemeal rye bread but you can use any bread of choice to make bread crumbs. You could add a little lemon zest or garlic powder within the breadcrumbs if you like for a little added flavour.

Serving suggestion
The fish fingers will be great served with homemade baked beans and homemade potato wedges or sweet potato wedges. You could serve alongside broccoli, peas or roasted carrots. You cannot go wrong with fish fingers and chips or fish fingers and beans.
Other recipes you may like: Salmon nuggets, Fishcakes or Fish pie bites.

Storage instructions
The fish sticks can be stored in the fridge for up to 3 days, stored in an airtight container.
If you wanted to freeze the fish fingers, you will need to make sure that the nuggets have cooled down before transferring to either a freezer bag or airtight container. Ensure that the bag/airtight container is labelled with the item and the date. I use masking tape to label the airtight container. A great freezer meal option, that is needed most nights!
To defrost the fish fingers, leave in the fridge overnight and make sure that they are fully defrosted, before re heating.
To reheat, place the fish fingers in a oven proof dish and reheat 180C/350F for 4-5 minutes. They can be eaten at room temperature.
Once the fingers have been defrosted you will not be able to reheat or refreeze.
Equipment used to help with this recipe
Oven tray - I have chosen to use a non-stick and BPA free baking sheet - they are easy to clean and, if you buy more than one, easily stackable and easily stored.
Nutri bullet - I have found a blender to be an invaluable tool in the preparation of many of my baby led weaning recipes.
Airtight container - I much prefer the click-shut lids on these containers compared to others. They are also dishwasher and freezer safe and BPA free, so very suitable for food use.
Recipe | Homemade White Fish Fingers For Baby Led Weaning
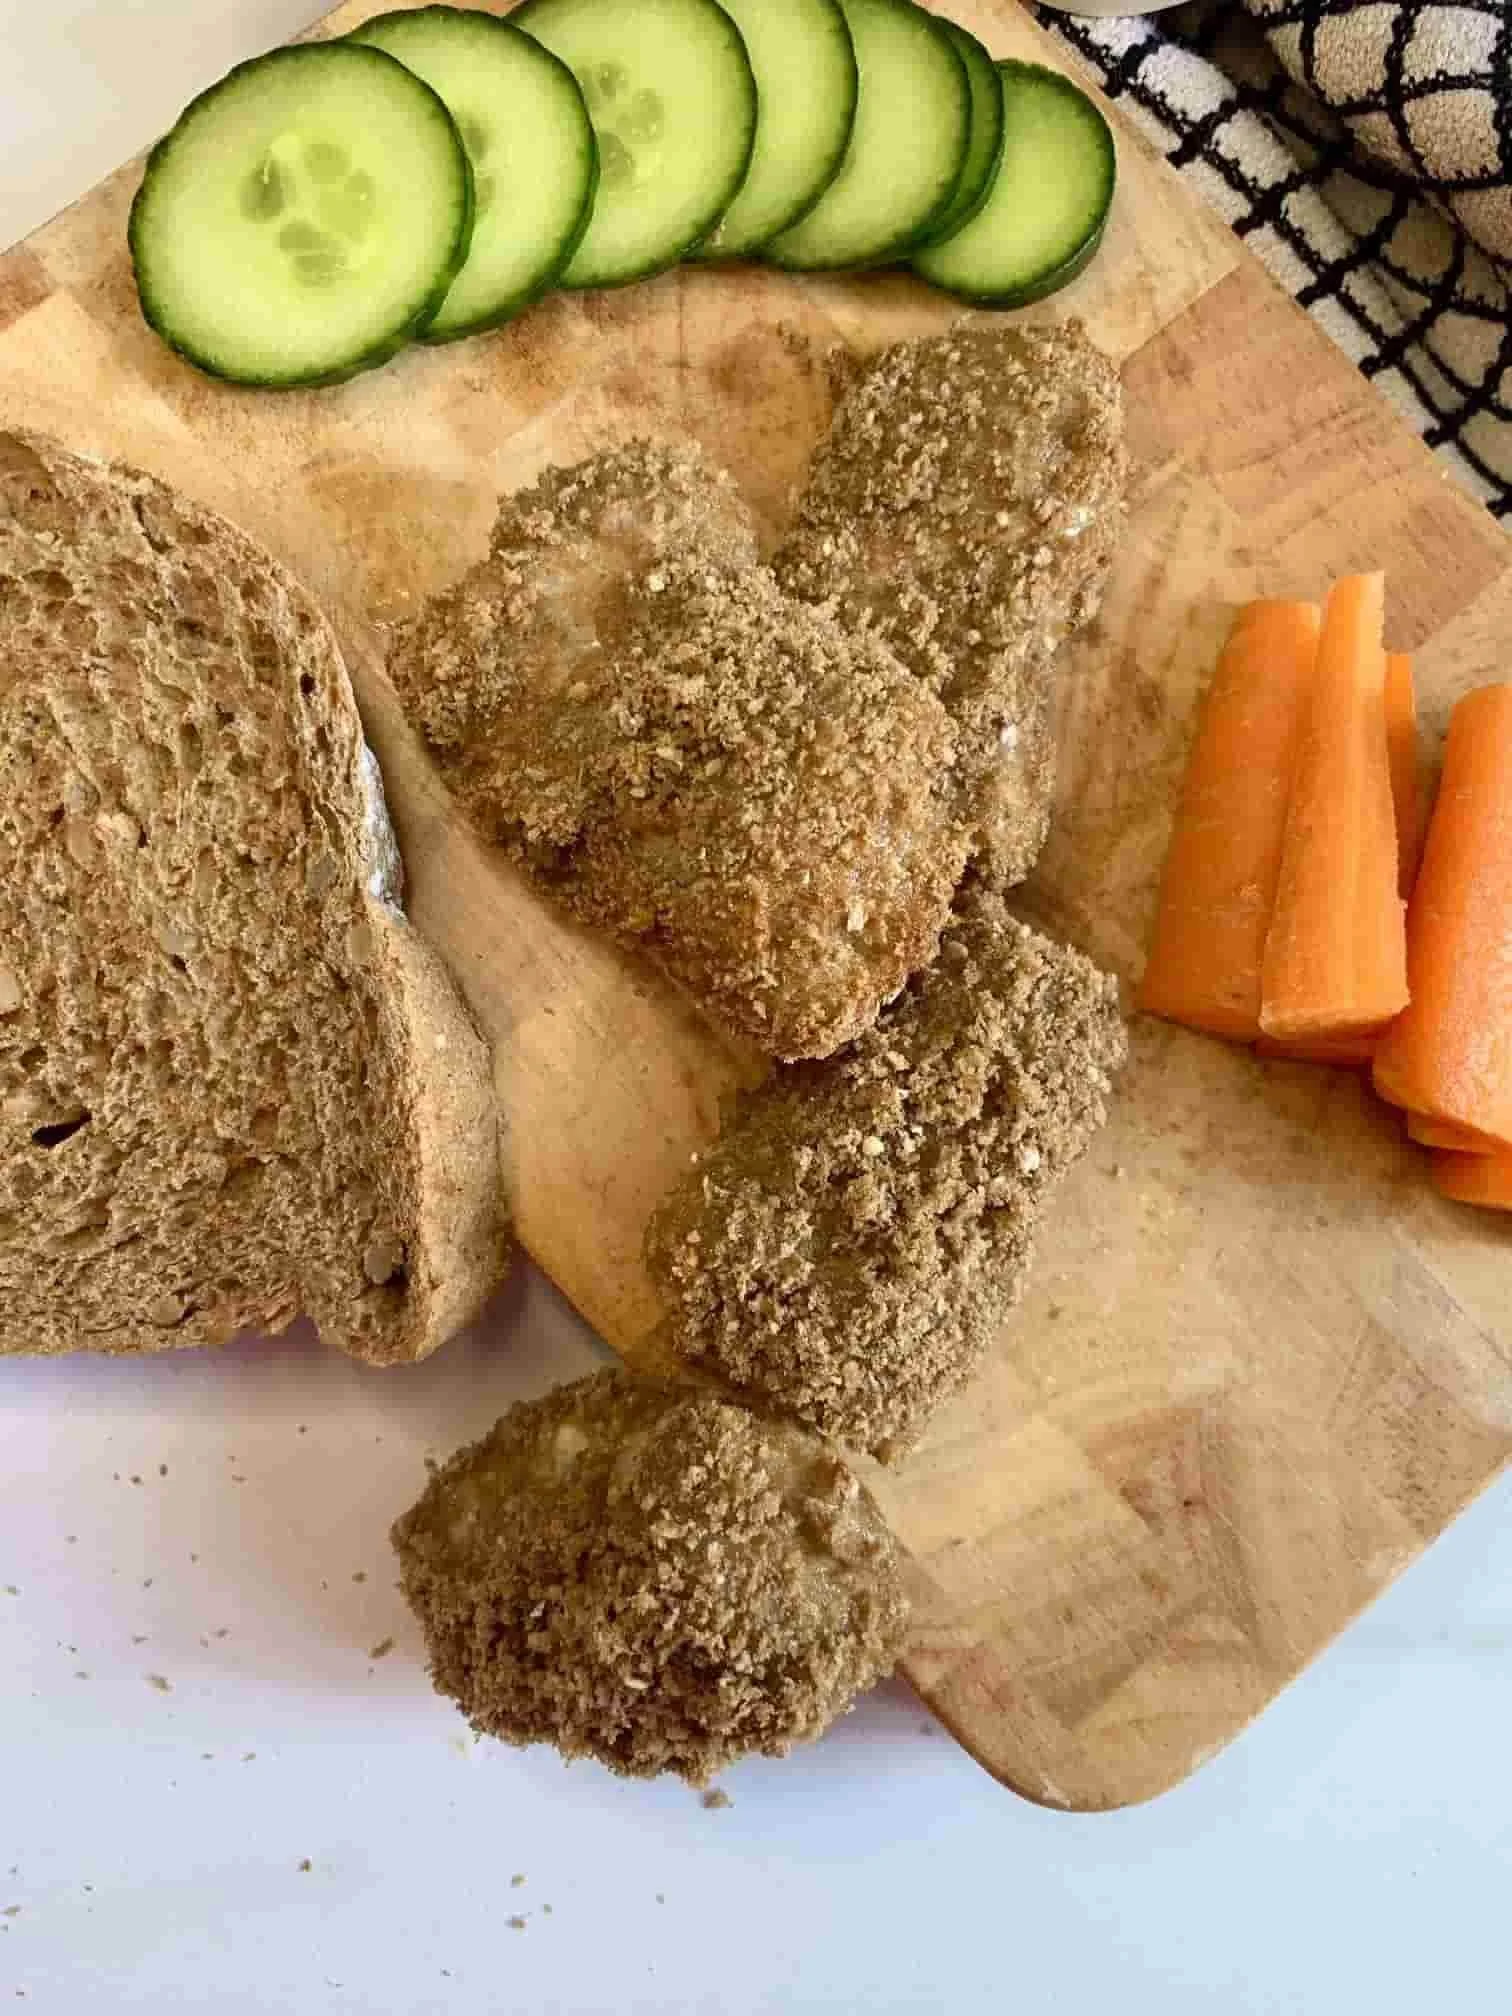


Homemade White Fish Fingers For Baby Led Weaning
Ingredients
Instructions
- Start by preheating your oven to 180C or 350F. Prepare a baking sheet with parchment paper.
- Blitz the bread in a food processor or Nutri bullet. Set aside on a plate.
- Start by cutting your fish in half and then in half again to make 4 fish pieces. You could cut again to make bites.
- Place one fish finger in the beaten egg, then dip into the breadcrumbs. Repeat this again. So double dipping!
- Repeat with all the fish fingers, and place on your prepared baking sheet.
- Pop in the oven for 20 minutes until golden brown.
- Leave to cool slightly before serving to your baby.
Notes
You could easily make this recipe gluten-free, by using gluten-free bread if you like.
You could fry the fish fingers in a little olive oil, 4 minutes each side. Just check they are cooked through.


©The Petit Spoon
Content and photographs are copyright protected and need prior permission to use elsewhere. Copying and/or pasting full recipes to other websites and any social media is strictly prohibited. Sharing and using the link of this recipe is both encouraged and appreciated! Share this post now!


A tasty oat and yogurt bar recipe that makes a delicious, quick snack that is full of goodness! The oats are blitzed fine to make a great consistency for BLW.